
As an Amazon Associate, this website earns from qualifying purchases.
Making a gift box from scratch can seem intimidating, but with a simple step-by-step approach, it becomes manageable and rewarding. By carefully measuring your gift and planning dimensions, you guarantee a perfect fit, while choosing sturdy materials assures durability. From cutting and folding to decorating, each step builds toward a polished final product. Whether for a special occasion or just to add a personal touch, learning this craft opens up endless creative possibilities—so, let’s explore how to create your own custom gift boxes.
Why Making Your Own Gift Box Adds a Personal Touch
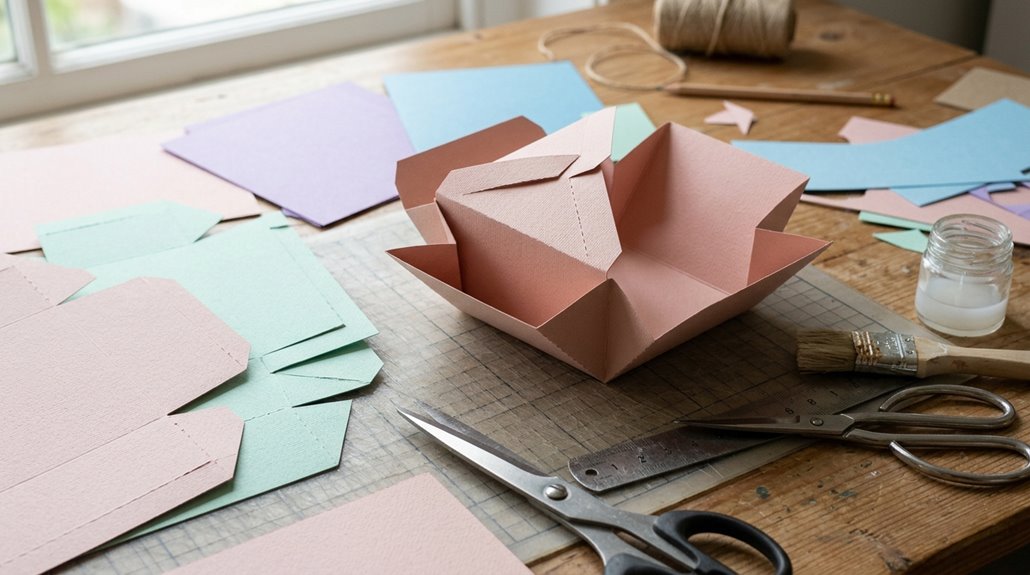
Ever wondered why a handmade gift box feels so much more special than a store-bought one? A DIY gift box offers a personal touch that transforms ordinary packaging into something meaningful.
By creating your own, you can customize the size and shape to perfectly fit the gift and the occasion, making it truly unique.
Using materials like cardstock, felt, or greeting cards, you can craft affordable, customizable presentation options.
This personal approach not only enhances the sentiment behind the gift but also makes it stand out with a crafted, one-of-a-kind look.
For businesses, adding custom logos or branding to a handmade box boosts perceived value.
Starting with simple foundations, like a single sheet of cardstock, allows anyone to build toward a beautifully personalized, decorative piece.
Essential Materials and Tools for Crafting a Gift Box
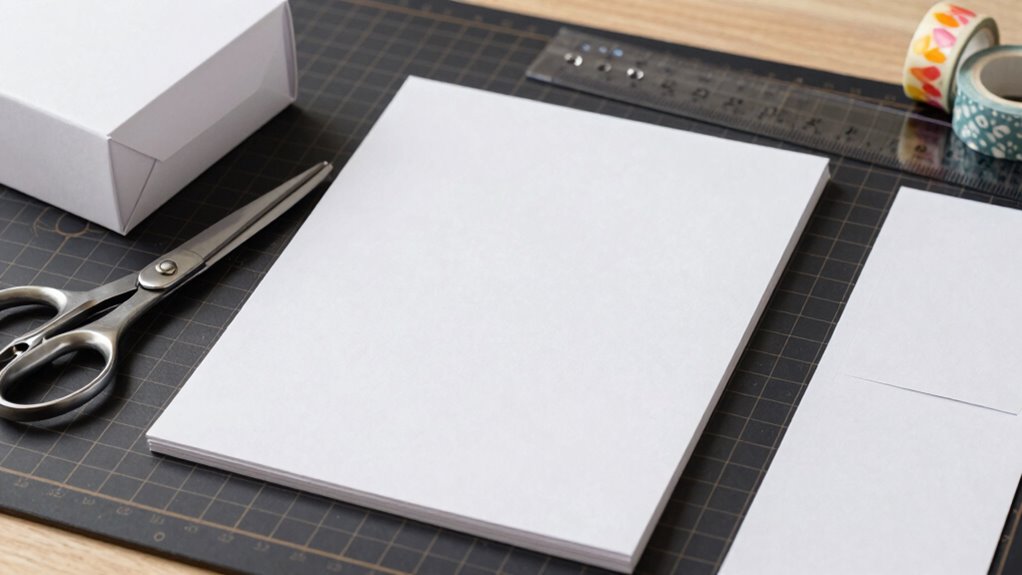
Creating a beautiful, sturdy gift box starts with gathering the right materials and tools. For DIY paper gift boxes with simple designs, sturdy cardstock is essential, offering the right balance of strength and flexibility. A box SVG file or Cricut gift box templates can make the process easier by providing clear outlines to cut and assemble.
Precision tools like a ruler are vital for accurate measurements and ensuring everything fits perfectly. Scissors are a must-have for clean cuts, and a paper trimmer can speed up the process for straight edges. To assemble the box, white glue or PVA glue works best because it’s non-toxic, dries clear, and bonds well.
Lastly, a cutting mat protects work surfaces during cutting and scoring, making the crafting experience smoother and more enjoyable.
How to Measure and Plan Your Gift Box Dimensions
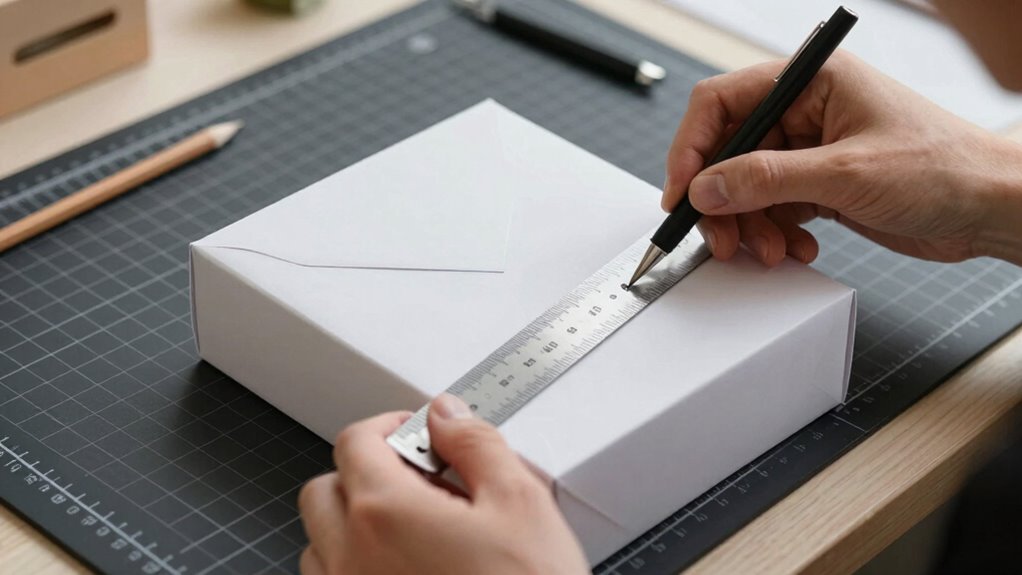
How can someone make sure their gift box fits perfectly around the item? Start by measuring the gift’s length, width, and height carefully with a ruler. To ensure a snug fit, add about ¼ inch to both the length and width. This extra space helps the box close smoothly without squeezing the gift.
If stacking multiple items, adjust measurements: the box width becomes the length plus ¼ inch, and the height doubles. Meanwhile, the box length is the width plus ¼ inch and also doubles in height. Record these dimensions on a worksheet for consistency.
Beginning with a simple cardstock sheet, precise measurements lead to clean folds and a professional look. Planning carefully makes the entire process smoother and results in a perfectly fitting, beautifully crafted gift box.
Step-by-Step Guide to Cutting and Assembling the Box
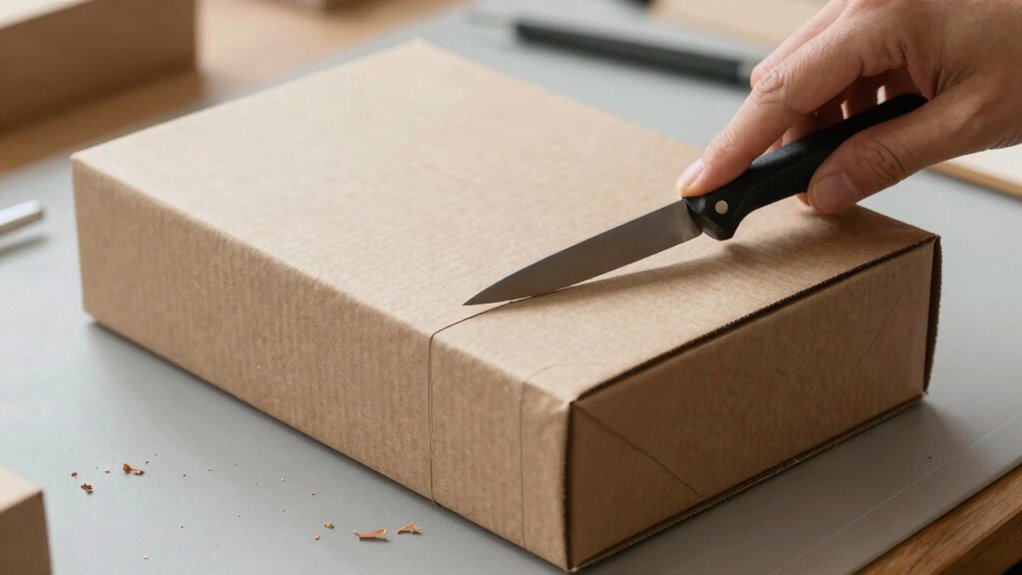
Once the measurements are finalized, it’s time to start cutting and assembling the gift box. Begin by scoring the edges at the box height, which means lightly pressing along the fold lines to create a clean bend.
For the sides, make triangular cuts on the width edges to form tabs that will hold the box together. These cuts should be angled inward, helping the sides fit snugly. When folding, carefully crease along each scored line to ensure sharp, neat edges.
Apply glue to the center of each tab. Hot glue works well because it dries quickly. Press the tabs against the sides, holding for several seconds until secure. This step builds the sturdy base of the box before moving on to the lid.
Tips for Creating a Sturdy and Well-Fitting Lid
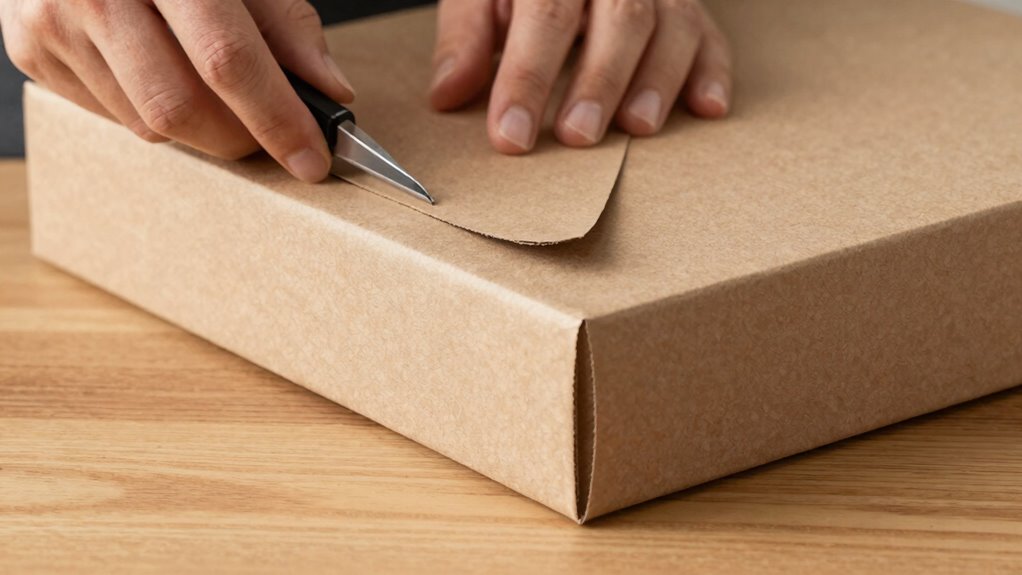
Have you ever struggled with a lid that doesn’t quite fit or feels flimsy? Achieving a sturdy, well-fitting lid takes attention to detail. First, design the lid to be about 1/8 inch larger than the box on all sides, making it easier to close smoothly. Second, add a thinner cardstock or liner inside the lid, matching the inner dimensions, to prevent warping and improve stiffness. Third, strengthen the lid edges with a chipboard panel or reinforcement pieces glued underneath. This keeps the lid from bending under weight.
Fourth, for a polished look, cut a precise acetate window by scoring and folding the area, then attach the acetate film-side down. Always test-fit after each step to ensure a snug, flush fit without sagging at the corners.
Creative Decoration Ideas to Personalize Your Gift Box
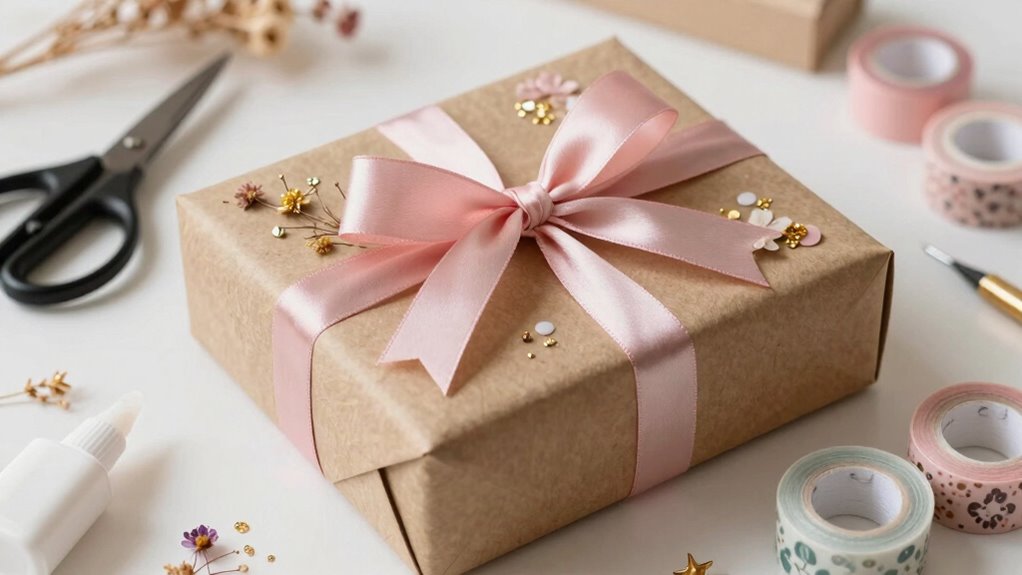
Creative decorations can truly transform a plain gift box into a personalized keepsake.
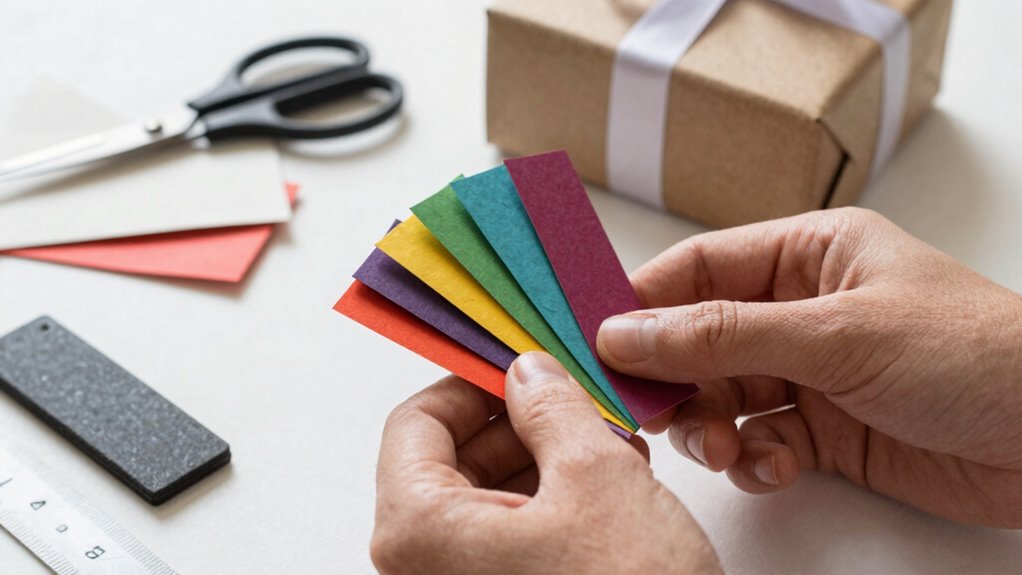
Using DIY stickers designed around the recipient’s interests or theme adds a special touch, while holographic stickers can frame edges and corners, creating a vibrant collage look.
Washi tape in coordinating colors and patterns is perfect for forming geometric designs, borders, or covering large sections of the box, giving it a cohesive finish.
Incorporating a decorative liner and clear acetate windows allows a peek at the contents and adds a boutique, polished feel.
Personal touches like custom lid designs or names can elevate the presentation further.
Layering semi-transparent tape and stickers creates depth and visual interest, making the box unique and memorable—all while ensuring it complements ribbons and other embellishments.
How to Use Decorative Elements Like Stickers and Washi Tape
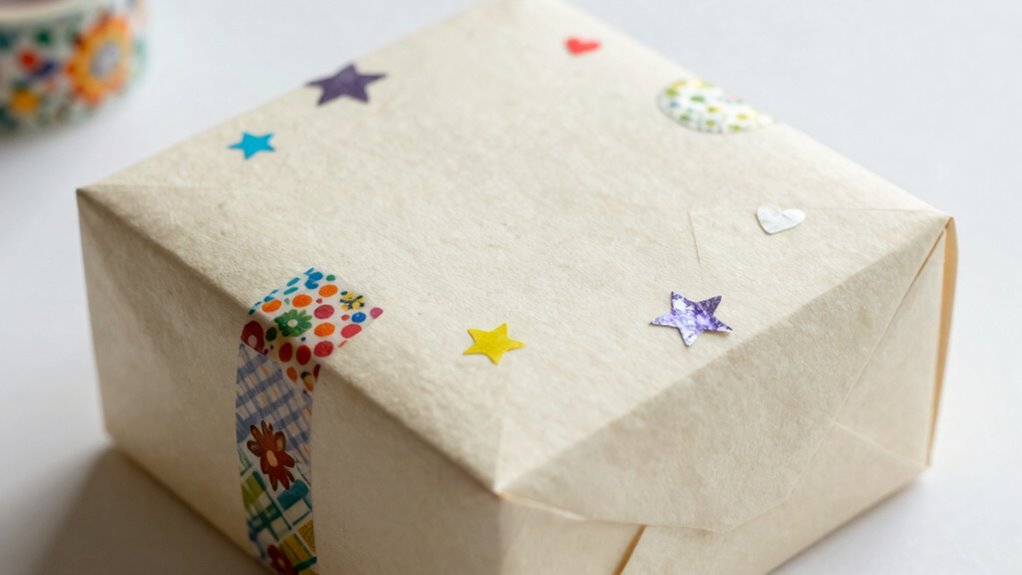
How can decorative elements like stickers and washi tape truly elevate a handmade gift box? They add personality and charm effortlessly. For example, one might place stickers along the edges and corners to frame the box and create a lively, collage-like look. Washi tape, with its semi-transparent quality, can be used to draw geometric borders or cover larger sections for a cohesive style.
To enhance the design:
- Apply themed stickers to match the occasion or recipient’s interests.
- Line the edges and corners with stickers to add visual interest.
- Use washi tape in coordinating colors to create borders or cover large areas.
- Seal edges with washi tape for both style and protection, easily removable if needed.
These simple touches transform a plain box into a personalized, eye-catching present.
Troubleshooting Common Gift Box-Making Challenges
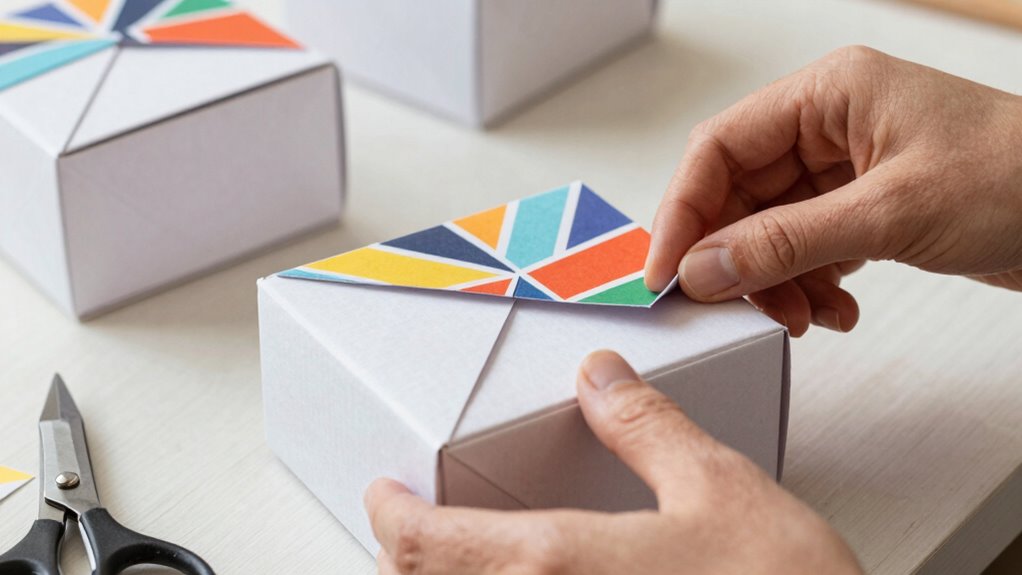
Anyone who has tried making a gift box knows that even small mistakes can turn a simple project into a frustrating puzzle. Mismeasured cuts are common, especially with lids that don’t fit right. To avoid this, adding an extra 1/4 inch during initial measurements helps create a better fit. Thin paper can warp or buckle, but choosing thicker cardstock and lining the inside with a lighter material can keep the box sturdy.
Glue can be tricky: too much and it squeezes out at joints, creating a mess. Applying glue only to the tab centers and holding them firmly for a few seconds keeps things neat. Finally, uneven folds or soft materials like felt can cause misaligned tabs or collapsing sides, so crisp creases and reinforcement panels are key.
Variations and Advanced Techniques for Unique Gift Boxes
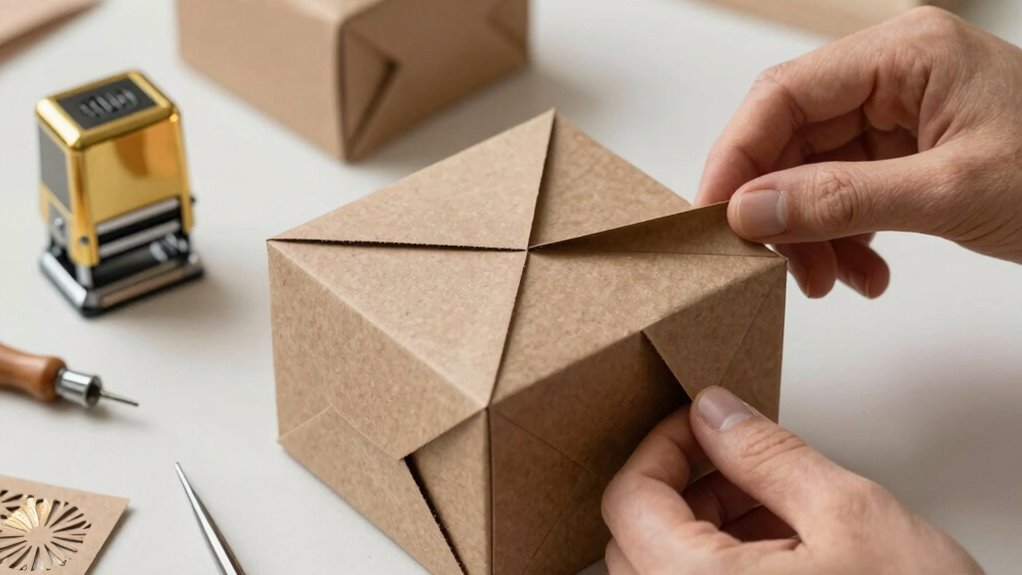
Have you ever wondered how to transform a simple gift box into something truly eye-catching and unique? Creative variations and advanced techniques make this possible. For example, one can:
- Use window lids with acetate to showcase the gift inside, adding a boutique touch.
- Reinforce the box with chipboard for extra durability, especially with heavier items.
- Incorporate metallic or glitter liners to give a luxurious, sparkling finish.
- Experiment with exploding gift boxes, layering multiple sections for a dramatic reveal.
These ideas often involve precise measurements and special materials, but the result is stunning, personalized designs. Accessible files for Cricut Design Space, including SVGs, make customization easier, allowing crafters to add their own flair. With these techniques, every gift box becomes a mini masterpiece.
Final Tips for Finishing and Presenting Your Handcrafted Gift Box
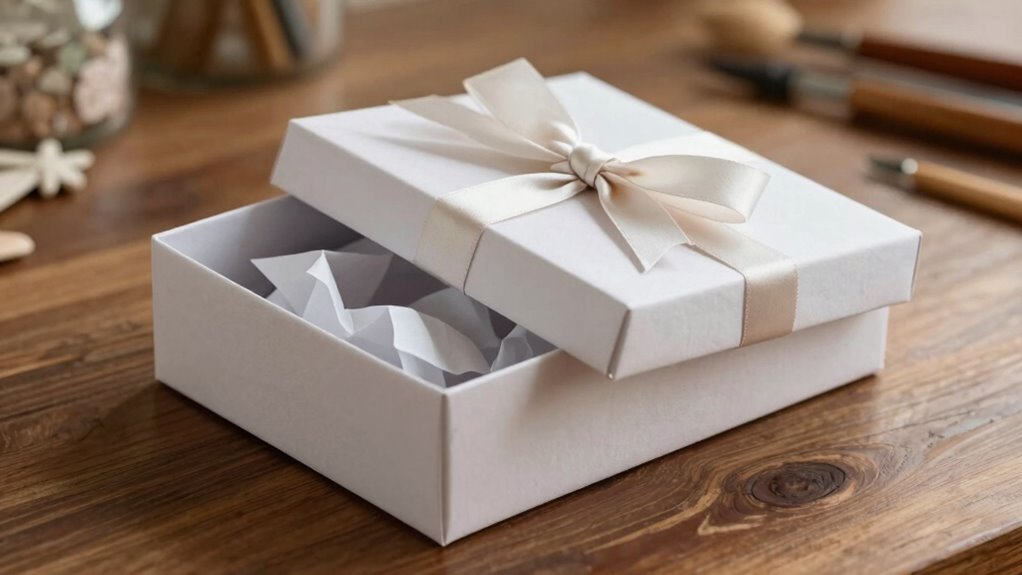
Is there a best way to give a gift that shows thoughtfulness and care? The answer lies in how the gift is presented, starting with a well-made, polished gift box.
To finish your handcrafted box, start by measuring with a ruler, adding 1/4 inch to ensure a perfect fit. Use glue sparingly—apply it only to the center of each tab—and hot glue works best for quick, secure assembly. For added strength, line the inside with thinner cardstock or reinforce with a chipboard panel. Once assembled, check that the top fits snugly over the bottom before filling.
For decoration, lightweight elements like ribbons, washi tape, and stickers can add a charming touch. Accentuate edges and corners to frame your thoughtful presentation beautifully.