
As an Amazon Associate, this website earns from qualifying purchases.
Wrapping a birthday present like a pro combines practical skills with creative touches. Using sturdy, thick paper and sharp scissors makes a difference, while measuring with extra margins ensures neatness. Centering the box, pulling the paper taut, and securing with clear tape creates a polished look. Adding layered or textured accents and finishing with a bold ribbon can elevate even simple packages. For those interested in perfecting their technique or exploring creative finishes, there’s more to discover beyond just wrapping—so, let’s explore how to achieve professional results every time.
Essential Materials and Tools for Perfect Birthday Gift Wrapping
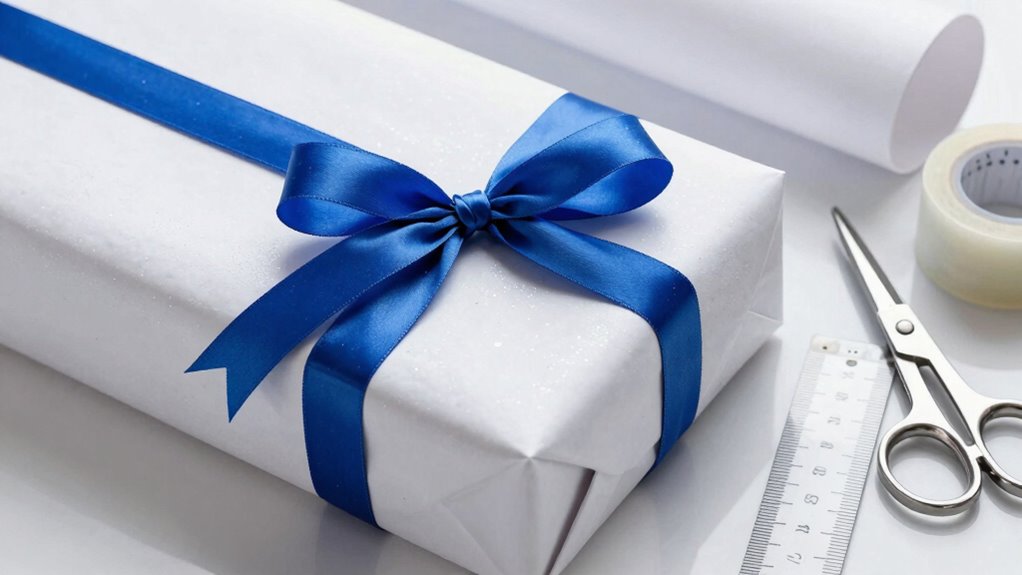
Have you ever wondered what makes a gift wrapping look truly polished and professional? The key lies in using the right essential materials and tools. Good wrapping paper should be thick enough to hide the gift underneath, ensuring a clean, smooth appearance. Sharp scissors are vital for precise cuts, while clear or double-sided tape helps secure the wrapping seamlessly without visible gaps.
Optional ribbons and bows add finishing touches, giving the package a personalized, festive feel. For neatly aligned edges, a grid-backed wrapping paper can be a lifesaver. When wrapping irregularly shaped or delicate gifts, tissue paper offers extra protection. Combining these materials with attention to detail results in a beautifully wrapped present that looks both neat and thoughtful—ready to impress at any celebration.
Step-by-Step Technique for Neat and Secure Wrapping
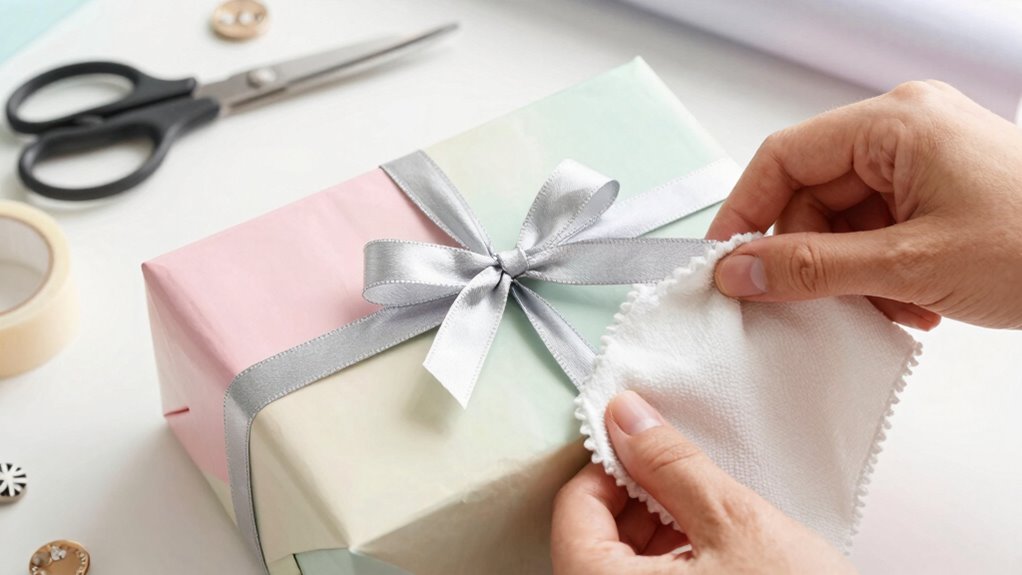
What’s the secret to getting that perfectly neat and secure gift wrap? The key lies in following a simple, steady wrapping technique.
First, measure the gift and add a few extra inches on each side before cutting the paper to size. Center the gift on the paper, then bring the sides up around it, securing the seam with tape while keeping the paper taut and straight. For the top and bottom edges, fold inward to form crisp triangular flaps, creasing firmly before taping them down.
Cylindrical gifts need a little extra overlap, which can be pleated toward the center and sealed.
Finally, tie a ribbon, cross it at the top, make a bow, and trim the ends for a polished, decorative finish. This method ensures a clean, professional look every time.
Creative Finishes and Decorative Touches to Elevate Your Gift
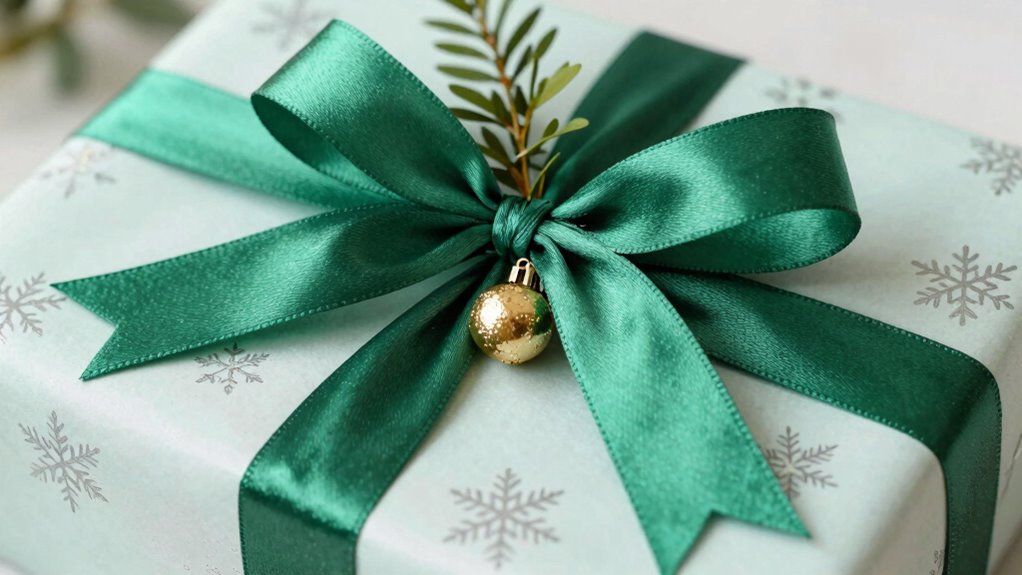
Creative finishes and decorative touches can turn a simple wrapped gift into a memorable present that shows extra thought and care.
Using wrapping techniques that layer neutral paper with a contrasting middle band, and finishing with a thick ribbon, creates a bold, sculptural look.
To add textured embellishments, tuck in a cedar twig or rosemary sprig for a natural scent and texture.
Enhancing visual appeal can be achieved by attaching dried oranges or small ornaments, keeping edges neat and secure.
Mixing ribbon textures or widths, such as grosgrain with satin, adds depth.
Personal touches like handwritten tags, stickers, or tiny trinkets that match the theme further elevate the presentation.
These decorative touches turn wrapping into an art, making each gift unique and special.
Choosing the Right Wrapping Style Based on the Occasion and Recipient
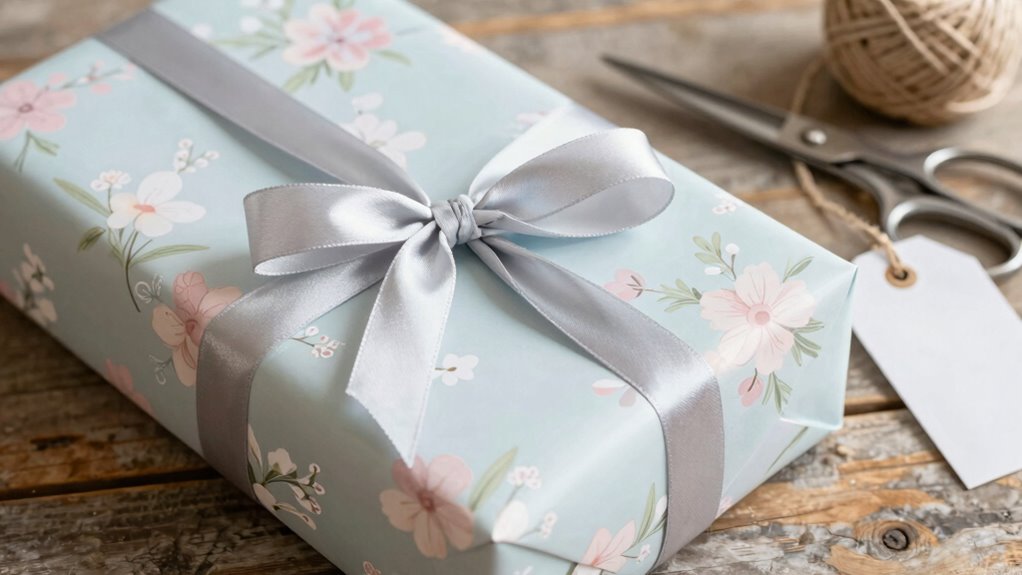
Choosing the right wrapping style depends largely on the occasion and the recipient’s personality, making it a thoughtful step in the gift-giving process. For birthday gift wrapping, bright, cheerful paper with a large bow instantly signals celebration and energy.
When wrapping for adults, opting for solid colors or sophisticated patterns helps create a polished look, unless the recipient enjoys playful or whimsical designs. Personalizing the gift wrap by matching colors to their preferred palette or adding a handwritten note or small keepsake shows extra care.
For children, fun designs, vibrant hues, and playful embellishments like stickers or big ribbons boost excitement. Using appropriate wrapping techniques, such as ensuring the paper covers most of the box and securing with double-sided tape, helps achieve a professional finish that reflects the recipient’s style and the occasion.
Tips for Wrapping Oddly Shaped or Large Gifts With Ease
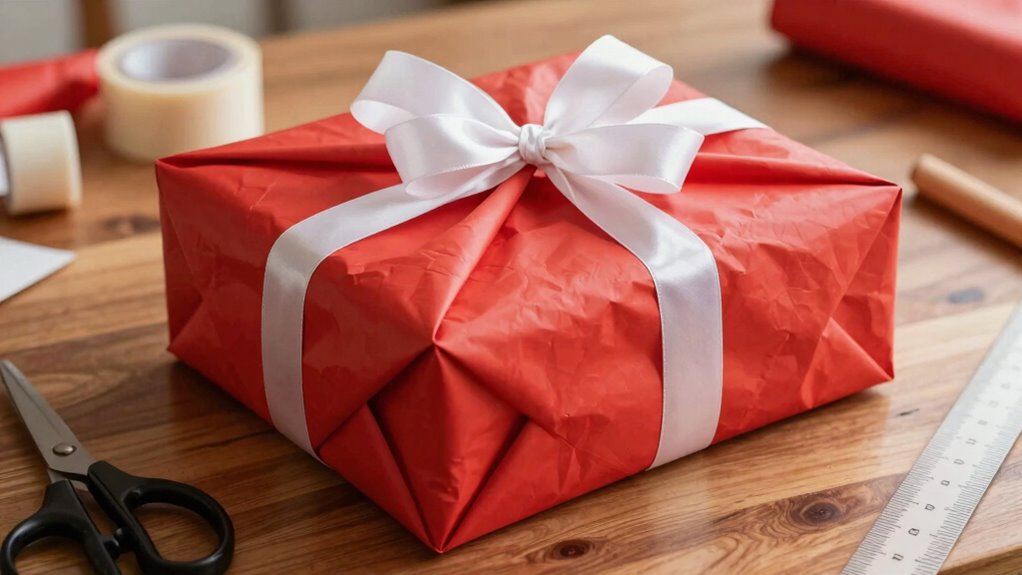
Wrapping odd-shaped or large gifts can seem challenging at first, but with the right techniques, it becomes much easier—and even fun. Starting with tissue paper helps create a smooth surface, especially for irregular shapes, making the final wrapping neater. When wrapping, use extra paper on the sides and overlap by about an inch to ensure secure taping and clean edges. Employ a combination of folds, like creating triangular end flaps and taping them flat, to reduce bulk and improve appearance.
For oddly shaped gifts, diagonal wrapping can be a game-changer, allowing the paper to conform better to the shape. Flexible approaches, such as laying the gift diagonally or using grid-backed paper for straight cuts, make the process smoother. These techniques help ensure a polished, professional look even on the most challenging presents.
Adding Personal and Themed Embellishments for a Memorable Presentation
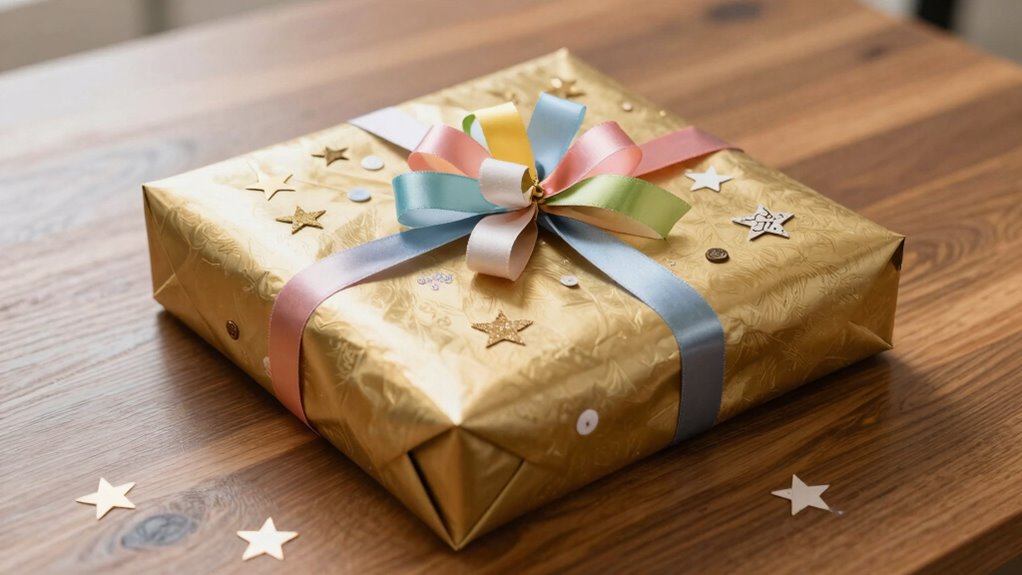
Have you ever wondered how small touches can transform a plain wrapped gift into something truly memorable? Gift wrapping embellishments can add personality and charm, making presents special. Combining two complementary embellishments, like a satin ribbon bow with a small cedar twig or dried orange slice, adds texture and a festive scent without cluttering the design. Personal touches, such as a handwritten gift tag or a custom-printed tag that matches the birthday theme, create a cohesive look.
Layering ribbons of different widths—like a wide satin ribbon with a narrow metallic one—adds depth and visual interest. Themed adornments, such as tiny charms or trinkets reflecting hobbies tucked under the ribbon, further personalize the gift. These thoughtful details make the presentation memorable and tailored to the recipient.
Common Wrapping Mistakes and How to Avoid Them
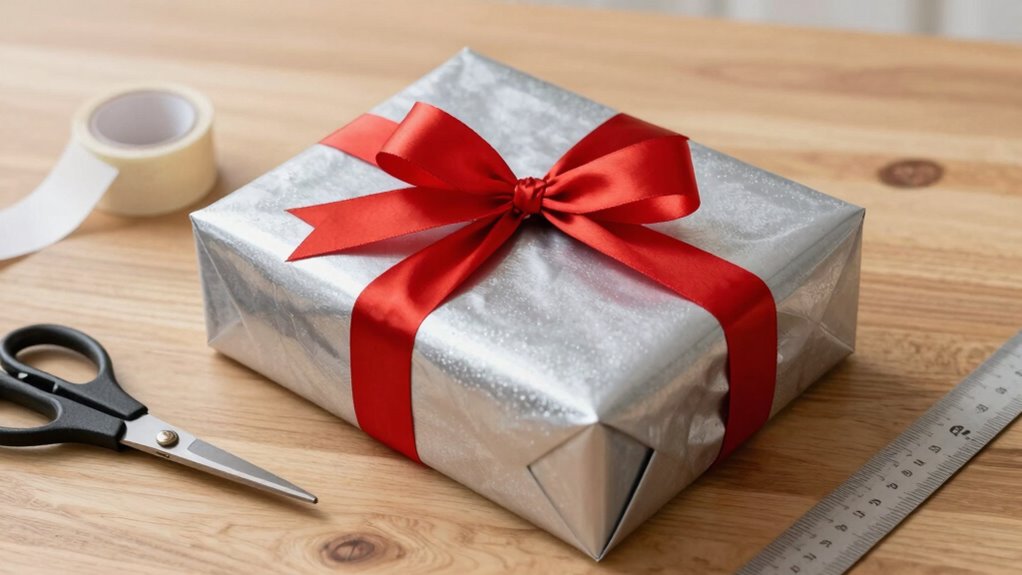
Ever wonder why some wrapped gifts look flawless while others seem a bit off? Common wrapping mistakes often cause this uneven appearance. For example, using wrapping paper that’s too thin can lead to tears and reveal the gift inside. Not leaving enough extra paper on the sides creates gaps and bulky corners that don’t lay flat. Misaligning the gift or not centering it results in uneven edges and an unprofessional look. Proper tape use is crucial; skipping or applying it poorly causes edges to lift and the wrap to come apart during transit.
Additionally, dull scissors or rough cuts can produce jagged edges that ruin the neat, polished finish. To avoid these issues, ensure you choose sturdy paper, leave enough margin, align carefully, and use proper tape and sharp scissors for edge finishing.
Expert Tricks for a Pro-Level Finish and Stunning Final Look
| Technique | Details |
|---|---|
| Use quality materials | Medium-weight wrapping paper ensures clean edges. |
| Precise folding and taping | Double-sided tape and neat mitred corners give a polished look. |
| Avoid bulky folds | Fold triangular end flaps smoothly for a sleek finish. |
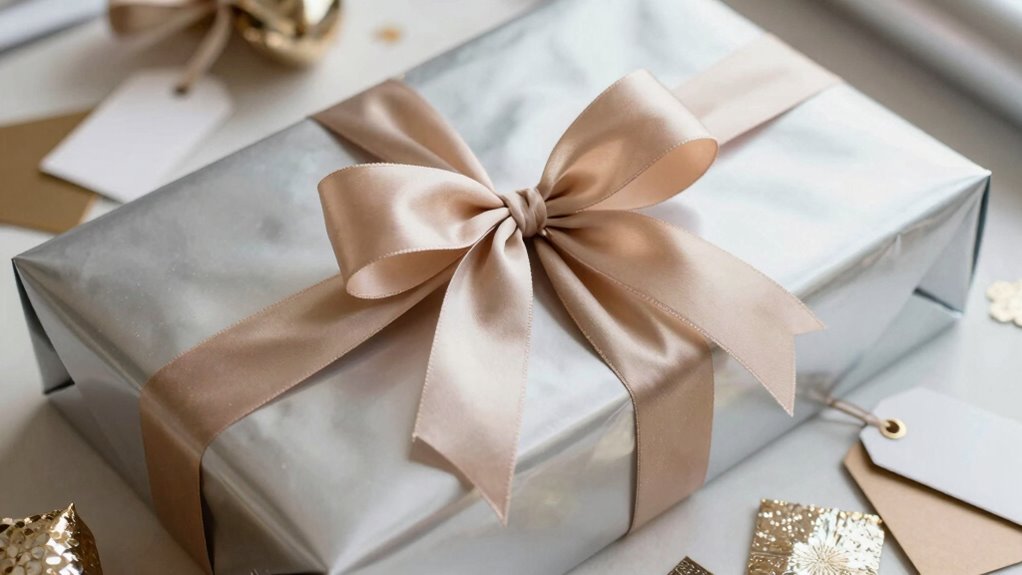
| Add layered accents | Incorporate contrasting bands and a thick ribbon for a sculptural bow. |
| Enhance presentation | Embellish with gift tags, holly, or dried orange slices for texture and scent. |
Wouldn’t it be wonderful to see a gift that looks as polished as a professionally wrapped present? Mastering techniques, like clean creases and creative embellishments, helps achieve a pro-level finish. Practice makes perfect—measuring carefully, folding edges precisely, and threading ribbons smoothly all contribute to a stunning final look.
Presentation embellishments add a charming touch that elevates simple gift wrapping into an art form. By combining these expert tricks, anyone can create a gift that’s not only beautiful but also memorable, making the recipient feel truly special.