
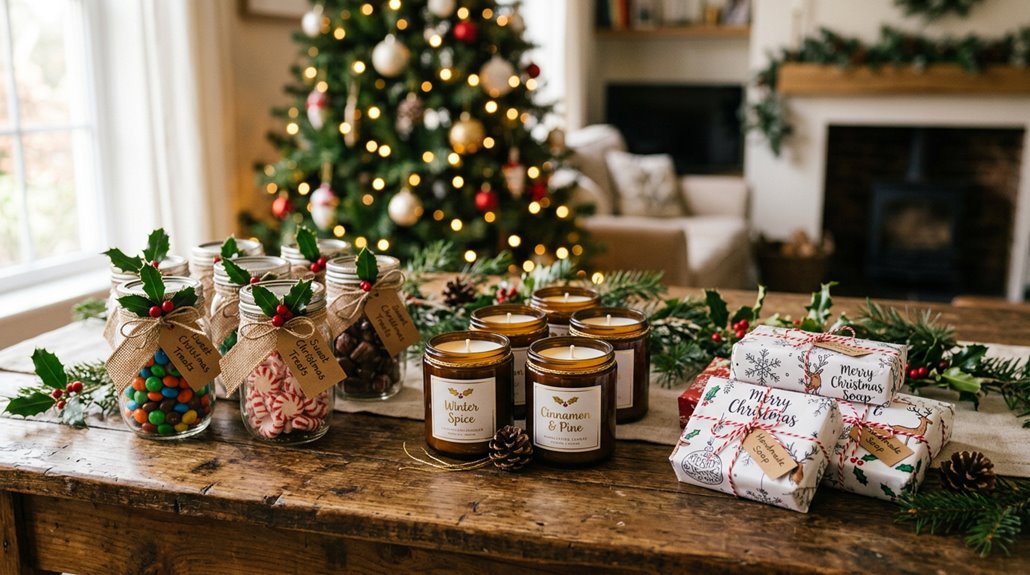
As an Amazon Associate, this website earns from qualifying purchases.
Creating DIY Christmas gifts that look professional doesn’t have to be complicated. By focusing on cohesive packaging, neat typography, and simple, repeatable steps, anyone can achieve a polished look. Small touches like embossed labels, coordinated ribbons, and personalized notes add a store-bought feel. With a few basic supplies and attention to detail, homemade gifts can feel just as special as shop-bought ones. The key is in the finishing touches—there’s more to discover that can transform your gifts into true holiday treasures.
Discover Simple Techniques to Make Your Gifts Look Professionally Made
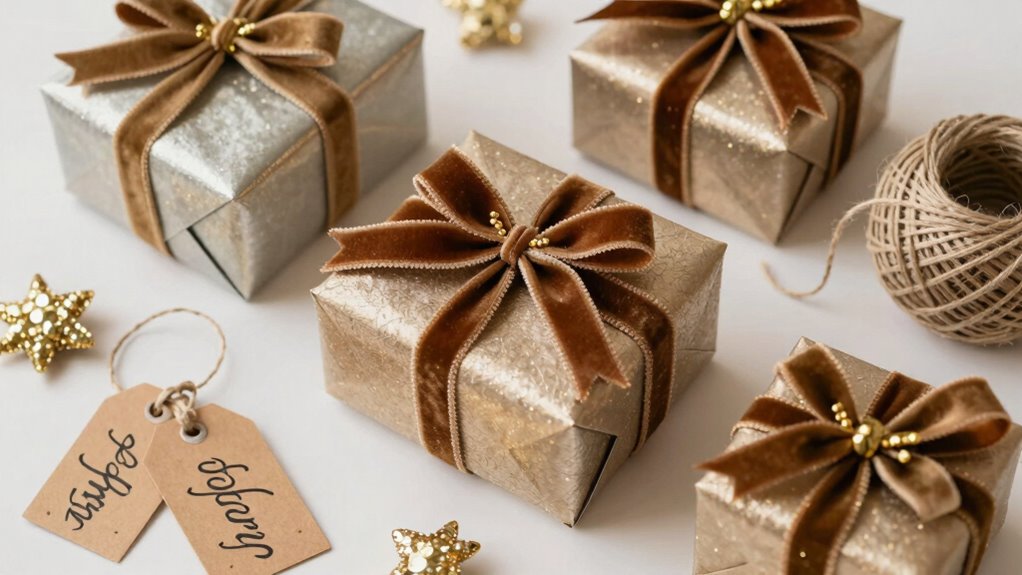
Ever wonder how some homemade gifts look so polished and professional, almost like they came from a store? Achieving this look involves paying attention to packaging design and presentation. Using high-contrast color palettes and neat typography can mimic store-bought packaging, such as embossed labels on jars or foil-stamped tags on gift bags, giving a sophisticated touch. Including printed, recipe-style instruction cards with clear steps and measurements adds a professional feel to the gift.
Bundling related items—like tea sachets with a mug—in uniform jars or boxes creates a cohesive, retail-ready appearance. Finally, decorative touches like ribbons, tissue paper, and shrink wrap elevate the finish without breaking the bank. These simple techniques help transform homemade gifts into charming, professional-looking presents that wow recipients.
Choose the Right Materials and Supplies for a Polished Finish
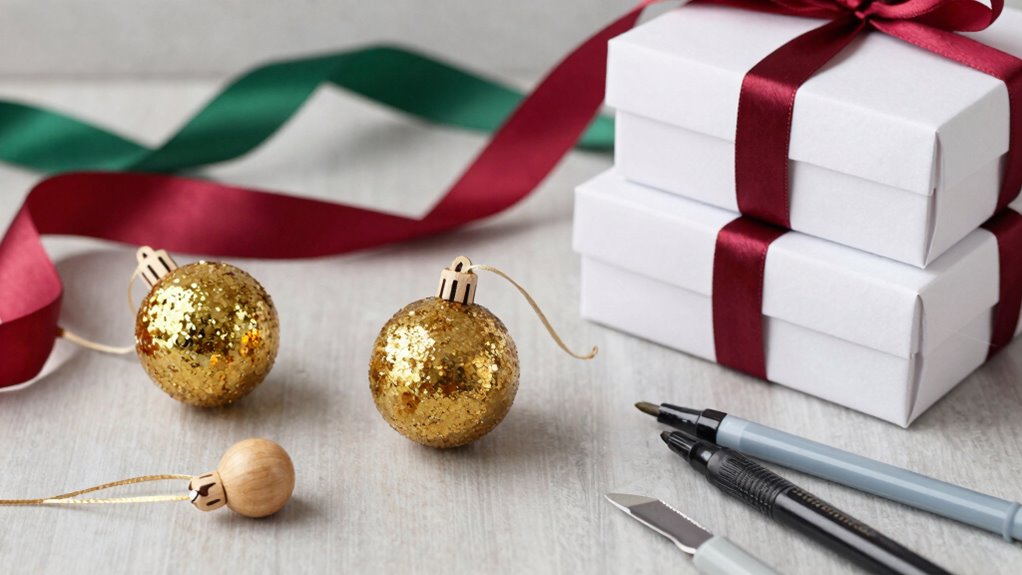
Choosing the right materials and supplies is the foundation for creating homemade gifts that look polished and professional. Using high-quality, craft-grade base materials—like smooth resin swirls for cutting boards or glass jars for scrubs—ensures a refined finish. For packaging presentation, selecting coordinating elements such as ribbon-wrapped jars or printed tags elevates the overall look.
It’s important to prioritize quality materials to guarantee consistent results, whether in resin crafting or assembling gift sets. To achieve a professional touch, consider these key points:
- Use durable, food-safe or craft-grade bases for a sleek appearance
- Match labels and packaging to create a cohesive aesthetic
- Opt for standard sizes and repeatable steps for uniformity
- Add simple finishing touches like botanicals or decorative sachets
These choices help gifts look thoughtfully assembled and ready to impress.
Add Personal Touches to Elevate Your DIY Gifts
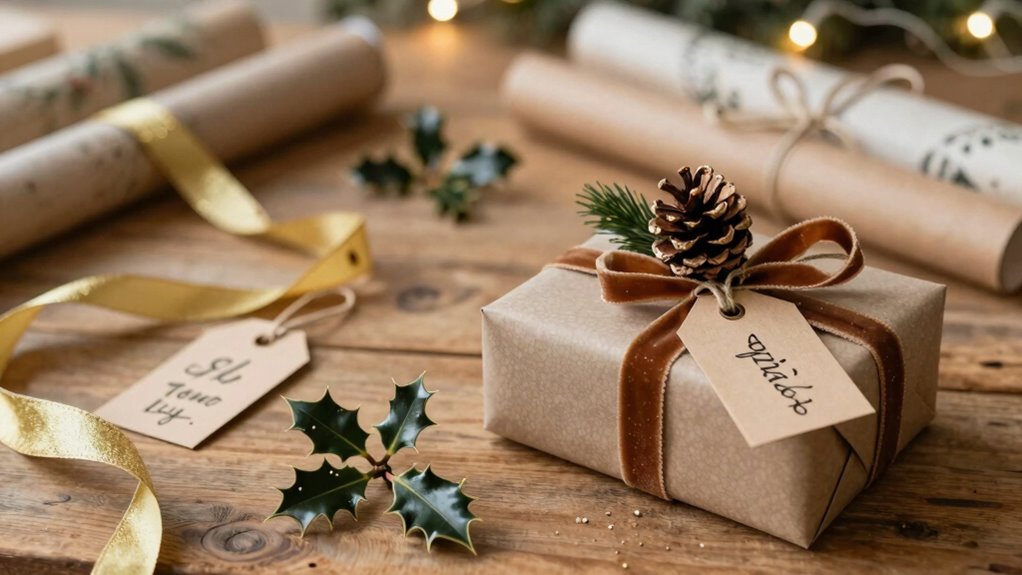
What makes a DIY gift truly special often comes down to the personal touches added along the way. Personalization can turn simple items into meaningful keepsakes—think monogrammed stationery or custom journals tailored to the recipient’s interests. Customized packaging also adds a polished touch, like decorative containers with festive labels or scented potpourri that enhances the gift’s appeal. Incorporating collaborative elements, such as involving children in measuring ingredients or assembling crafts, infuses warmth and shared effort into the gift.
Handwritten notes or cards paired with small handmade items deepen the personal connection. These thoughtful details elevate DIY gifts from everyday to memorable, showing the recipient that time and care were invested, making it feel just like a store-bought treasure with a heartfelt twist.
Packaging and Presentation Tips to Make Gifts Store-Bought Quality

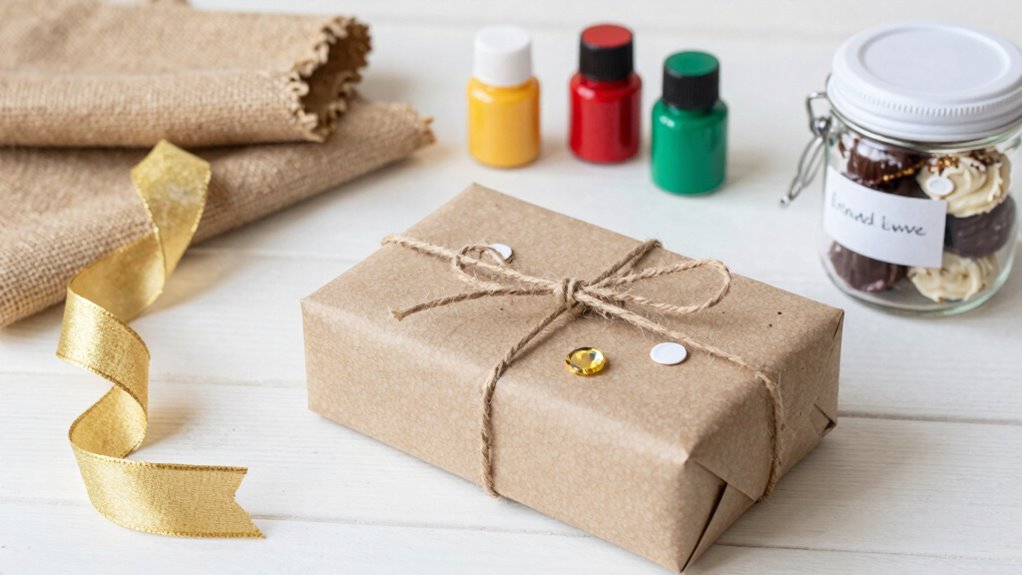
Have you ever noticed how a beautifully wrapped gift instantly feels more luxurious? Creative packaging elevates homemade gifts, making them look professional. Using decorative packaging, like mason jars, tins, or fabric wraps, can mimic store-bought quality effortlessly. Including a clear, printed label with ingredients or care tips adds a polished touch, similar to product cards found in stores.
Tying ribbons, twine, or metallic baker’s twine around jars and adding small gift tags personalize each gift. Pairing with a simple, cohesive color scheme—such as red and gold or white and kraft—creates a unified presentation. Incorporating a small, reusable element like a fabric gift bag or tea towel adds perceived value without extra cost. These tips help craft a memorable, store-quality gifting experience through thoughtful presentation and cohesive branding.
Troubleshooting Common DIY Challenges to Achieve Perfect Results
Ever run into a hiccup while crafting a DIY gift and wondered how to fix it? DIY gift troubleshooting is key to achieving that polished, store-bought look. When problems like uneven paint or crumbly clay appear, it’s helpful to pause and adjust. For instance, if wax pools, try lowering the temperature or testing a small batch first.
To ensure batch consistency, keep measurements and timing exact, and work with moderate batch sizes. This makes replicating results easier and more uniform. Finishing and packaging also matter. Creating a checklist for dry times, sealing, and presentation guarantees each gift looks professional.
Label each step clearly, document details, and don’t rush—these small tweaks and attentive steps help turn DIY mishaps into perfect, gift-ready treasures.